Achieving a Perfect Sun-Kissed Glow: Tips and Tricks for Even Self -Tanner Application

A gorgeous, sun-kissed glow can boost your confidence and make you feel fabulous. However, achieving that perfect tan isn’t always as simple as basking in the sun. Fortunately, self-tanner applications offer a safer alternative, but they come with their own set of challenges. Uneven application can lead to streaks and splotches, leaving you with a less-than-desirable result.
In this comprehensive guide, we will share valuable tips and tricks for achieving a flawless self-tanner application. From pre-tanning preparation to the actual application process and aftercare, we’ve got you covered. Say goodbye to blotchy tans and hello to a beautifully even, bronzed complexion!
Pre-Tan Preparation
A. Exfoliation: Before self-tanner application, exfoliation is key. Dead skin cells can create uneven patches on your skin, so gently scrub your body with an exfoliating product or a loofah. Focus on rough areas like elbows, knees, and ankles, as these tend to soak up more product. For your face, consider a facial scrub with finer exfoliating particles to avoid irritation.
B. Moisturizing: Proper hydration is essential for an even tan skin. Apply a lightweight, oil-free moisturizer to dry areas such as your elbows, knees, and ankles, as well as any other rough patches. However, avoid over-moisturizing immediately before applying self-tanner, as it can create a barrier that hinders absorption.
C. Hair Removal: Shave or wax at least 24 hours before applying self-tanner to prevent irritation and open pores. Hair removal after self-tanning can lead to uneven results as it may remove the tanned layer along with the hair.
D. Choosing the Right Self-Tanner: Selecting the right self-tanner is crucial. Factors to consider include your skin type, the desired shade, and whether you prefer a spray, lotion, or mousse. Patch testing on a small area is recommended to check for compatibility and ensure that you like the color.

Application Techniques
A. The Right Tools: Invest in quality application tools, such as a tanning mitt, gloves, or a large brush, to avoid staining your hands. These tools provide a more even and streak-free application. Always wash your hands thoroughly after applying the self-tanner to avoid tan palms.
B. Start with Your Face: Begin your application with your face. Use a specific facial self-tanner or dilute your regular self-tanner with moisturizer for a more subtle result. Apply in small, circular motions and blend well into the hairline and neck to avoid any stark contrasts.
C. Body Application: For your body, apply the self-tanner in long, even strokes, working section by section. Be sure to blend the product as you go to avoid harsh lines or streaks. Don’t rush; take your time for a thorough application.
D. Hands and Feet: Your hands and feet are notorious for absorbing self-tanner unevenly. To avoid this, dilute the tanner with a bit of moisturizer or use a tanning mitt to apply. Pay special attention to the knuckles, wrists, and between your fingers and toes. Afterward, gently wipe your nails with a damp cloth to remove any excess product.

Perfecting Your Self-Tan
A. Blending and Buffing: To ensure an even result, blend the self-tanner thoroughly into your skin. For hard-to-reach areas, like your back, seek assistance from a friend or use a specialized back applicator. Buff any streaks or uneven patches with a clean, dry cloth.
B. Waiting Time: Allow the self-tanner to dry completely before dressing. This typically takes 10-15 minutes, but it’s essential to follow the product’s instructions. Avoid activities that may cause you to sweat during this time.
C. Layering for Intensity: If you desire a deeper tan, layering is the key. Apply a second or even third coat after your initial application has dried. Remember to blend well for a touch of natural.
D. Touching Up: If you spot any missed areas or unevenness after your tan has developed, apply a small amount of self-tanner to these spots and blend carefully.
Aftercare and Maintenance
A. Shower Time: Wait at least 6-8 hours before showering to allow the self-tanner to fully develop. Opt for a lukewarm shower, as hot water can strip away your tan more quickly. Use a gentle, sulfate-free body wash to maintain your tan.
B. Hydration: Hydrated skin retains a tan longer. Apply a moisturizer daily to lock in the color. Look for a tan-extending lotion that contains ingredients like aloe vera and hyaluronic acid.
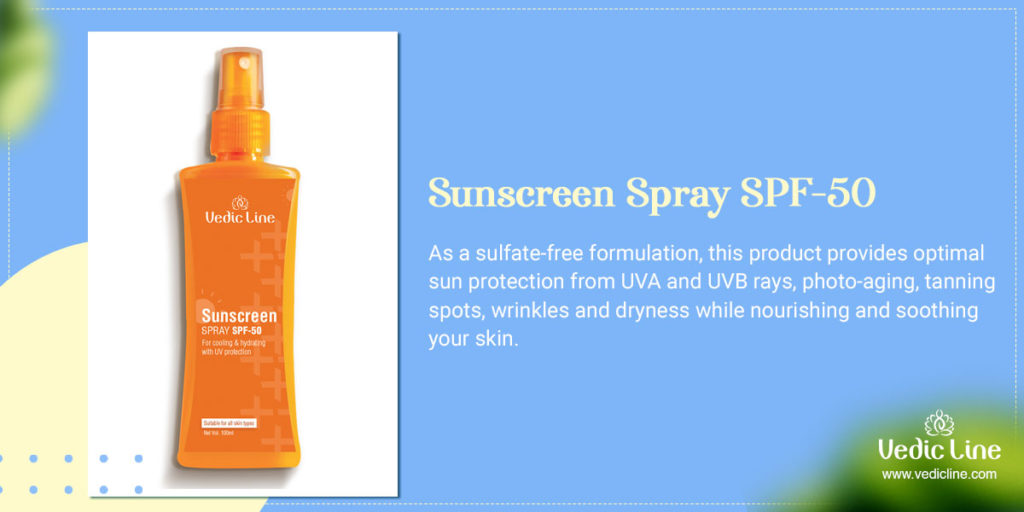
C. Sunscreen: Protect your tan from fading prematurely by applying sunscreen. Self-tanned skin is not immune to UV damage, so don’t forget to shield yourself from the sun’s harmful rays.
D. Tan Extenders: Consider using tan-extending products like self-tanning serums or lotions designed to prolong the life of your tan. These products can help you maintain your bronzed glow between tanning sessions.

Conclusion
Achieving a perfect sun-kissed glow through self-tanner application is an art, but with the right techniques and a little patience, it’s entirely achievable. Pre-tanning preparation is vital for a smooth canvas, while the right application techniques and tools are essential for an even result. By avoiding common mistakes and perfecting your self-tanner application, you can enjoy a beautiful, natural-looking glow. Don’t forget to maintain your tan with proper aftercare and be prepared to troubleshoot any issues that may arise. With these tips and tricks, you’ll be well on your way to a flawless and envy-inducing tan.
